Post map
ToggleUsing the Messenger app gives you a great experience because you can easily create your chat groups. This is useful when you want to chat with people who share similar interests or want to maintain a private conversation simply. In today’s article, Optimal FB will guide you on how to create a group chat in Messenger iPhone, quickly and simply. Don’t miss it!
Understanding group chat features on Messenger
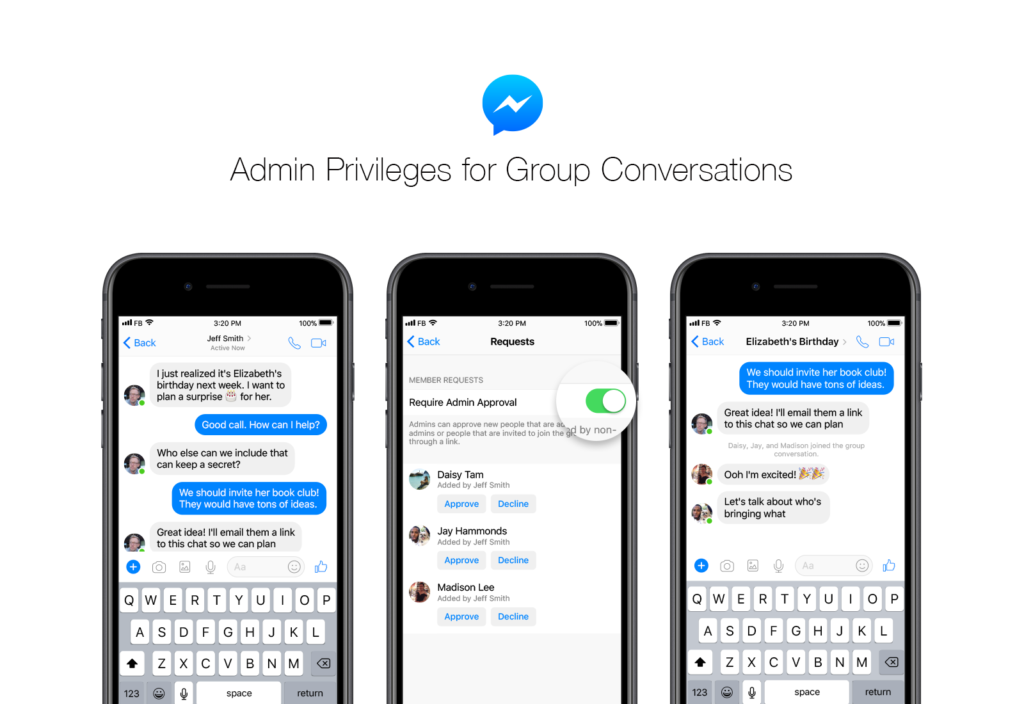
The concept of a Messenger chat group is a form of forming a multi-user online chat space through Facebook’s Messenger application. In it, users can create a group containing many members and interact with each other through text messages, images, videos, and other features. Messenger chat groups are not only a tool for personal communication, but also a way to create an effective sharing, chatting, and teamwork space. These groups can be created for different purposes, from connecting with friends and family to working as a team in a specific work environment or project.
With the Messenger chat group feature, users can create groups based on common interests, work, interests, and specific communication needs. This creates a flexible and diverse environment where people can chat, share information, and work together easily and conveniently. A notable point of the Messenger chat group is its flexibility and convenience. Users can create, manage, and join groups easily, from both mobile and desktop. This helps create a flexible and convenient communication experience that suits everyone’s modern needs and lifestyle.
How to create a group chat in Messenger iPhone
To create a conversation, you can use today’s electronic devices including phones and computers. The specific steps to create a Messenger chat group are as follows:
Use your device to create a group chat in Messenger
To create a group on the Messenger app on your phone, you can do the following:
- Step 1: Open the Messenger app on your phone. After opening the application, you will see the main interface of Messenger. In the lower right corner of the screen, you will see a pen icon. Tap this icon to continue.
- Step 2: When you touch the pen icon, a menu will appear with many different options. Here, you will select “Create new group”. You will then be asked to add the accounts you want to invite to the group. You can type their name into the search box or select from your friend’s list. Once you have added enough members, press “Next”.
- Step 3: Next, you will be asked to name your group. Enter the name you want for the group in the “Group name” box. After entering the name, you can press the “Create” button in the upper right corner of the screen to complete the group creation process.

Instructions for creating a Messenger group on a laptop/PC
To create a group on Messenger on your computer, you can follow the steps below:
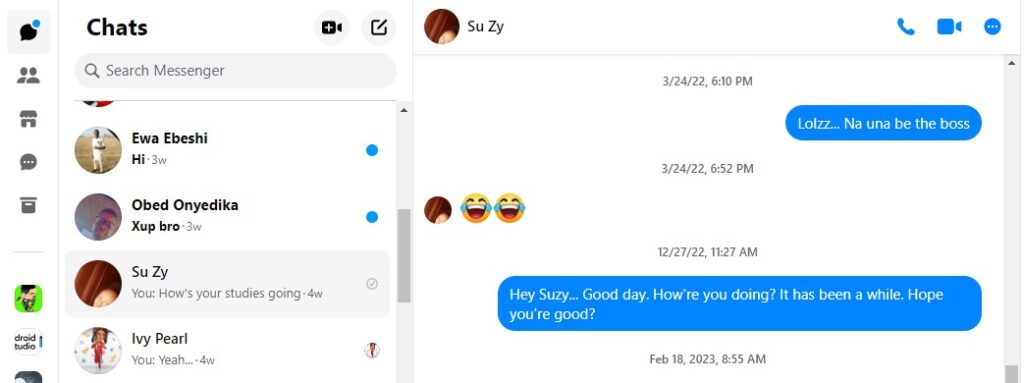
- Step 1: First, open your browser and log in to your Facebook account on your computer. Then, access Messenger by clicking the Messenger icon on the left bar of the Facebook interface. Once you’re in Messenger, tap the “New Message” icon in the upper right corner of the screen.
- Step 2: Next, you will need to enter and select the name of the person you want to add to the group. You can enter their name in the search bar and select it from your friend’s list.
- Step 3: Once you’ve chosen the person you want to add to the group, send a message to the chat. This message will automatically create a group on Messenger with you and the person you selected. You have successfully created a group on Messenger using your computer.
With iPhone or Android phones, the process of creating a group on Messenger is similar. You need to open the Messenger app on your mobile phone, do the same steps as above, and you will be able to create groups easily and quickly.
With just two simple steps, you have successfully created a group on Messenger on your phone. This process is similar on iPhone and Android phones, you can follow the steps on any phone model.
What are the benefits of creating a chat group on Messenger?
Knowing how to create a group on Messenger is not only a simple skill but also brings many valuable benefits. First, it makes it easier to exchange information, update news, and discuss with many people at the same time. Through the group, you can share images, videos, gifs, stickers, and voice messages, creating a vibrant interactive environment and strengthening bonds between members. In addition, live voice and video calling features in groups help connect members faster and easier than ever. You can chat, discuss, and collaborate effectively right on Messenger.
Sharing documents, photos, videos, and other files related to work or common group purposes is also simpler than ever. You can organize documents and information in a structured way, making group work more efficient and convenient. Moreover, the poll and survey features in the group help collect opinions from everyone and make quick and accurate decisions. This enhances flexibility and efficiency in group management. Instead of messaging individuals separately, you can update information for everyone at once in the group, saving time and effort. You can also easily plan and organize events and group activities in an organized and efficient manner. Thus, creating a group on Messenger not only helps you connect and communicate effectively but also facilitates collaboration and teamwork.

In the above article, Optimal FB has provided you with the most precise content. We hope that the information we share can assist you in understanding the features and benefits of creating a group chat on Messenger and in successfully following the steps to establish a chat group on this platform.
Contact Info
Information about “How to create a group chat in Messenger iPhone” hopes to provide you with additional necessary knowledge. At optimal FB, there is a team of highly qualified and experienced staff and experts who will provide for rent facebook as well as support when you run Facebook ads. Contact us via phone number: +84 564 104 104.
Frequently asked questions
To create a community chat group on Facebook, you can follow some simple steps on this platform. First, you need to log in to your Facebook account. Next, navigate to the “Groups” section by selecting the menu icon in the upper left corner of the main page.
You will then see a “Create group” or “Add new group” button. You click that button and Facebook will ask you to fill in information for the group, including group name, description, privacy, and some other settings.
After you complete these steps, your group will be created and you can invite friends or interested people to the group. You can share content, interact, and chat with your team at any time. This creates an online community chat space for people to join in and share interests, ideas, and information.
To create a group on the Messenger app on Samsung phones, you can follow these steps:
Open the Messenger app on your Samsung phone.
Select the “Chat” icon in the lower right corner of the screen.
On the chat interface, tap the “Add” or “Create group” icon in the upper right corner of the screen.
Select the contacts you want to add to the group by tapping the circle next to their name.
Once you’ve selected your contacts, click the “Create” button in the upper right corner to create the group.
Name the group and customize its settings to your liking.
When you’re done, press “Create” to create the group.
Once done, you will have created a group on Messenger on your Samsung phone successfully and can start chatting with the group immediately.


